
A finished cabinet opening can look perfect and still create problems for an integrated refrigerator. A side panel that is slightly proud of the cabinet face, a shallow niche, or a blocked ventilation path can affect door movement, cooling performance, noise levels, and future service. This integrated refrigerator cabinet clearance guide explains what must be considered before cabinetry is finalized around a premium built-in unit.
Integrated refrigeration is designed to disappear behind custom panels. That refined appearance depends on precise coordination among the appliance specification, cabinetmaker, designer, electrician, plumber, and installer. Measurements should never be taken from a similar-looking refrigerator or a previous kitchen plan. The model-specific installation guide controls.
Start With the Appliance, Not the Cabinet
An integrated refrigerator is not a standard freestanding refrigerator placed inside a tall cabinet. It is engineered as part of the kitchen architecture, with dedicated ventilation, anchoring, panel, and door-clearance requirements. Even two units from the same premium manufacturer may require different opening dimensions or installation methods.
Before cabinets are ordered, confirm the exact model number, including the refrigeration configuration. A column refrigerator, freezer column, side-by-side pair, undercounter unit, wine storage system, and ice machine each have different requirements. Also verify whether the appliance uses a flush installation, a framed look, or a projection that allows the doors to sit forward of adjacent cabinetry.
The cabinet opening must account for more than the appliance body. It must accommodate the required width, height, depth, leveling range, anchoring points, ventilation components, electrical connection, and any water line or drain arrangement. The listed product dimensions are not automatically the rough-opening dimensions.
Why nominal cabinet dimensions cause expensive mistakes
A 30-inch cabinet opening is not always a usable 30-inch opening. Finished panels can bow, flooring can rise, tile can project, and walls can be out of plumb. In premium installations, small deviations matter because the reveal around the panels is intentionally narrow.
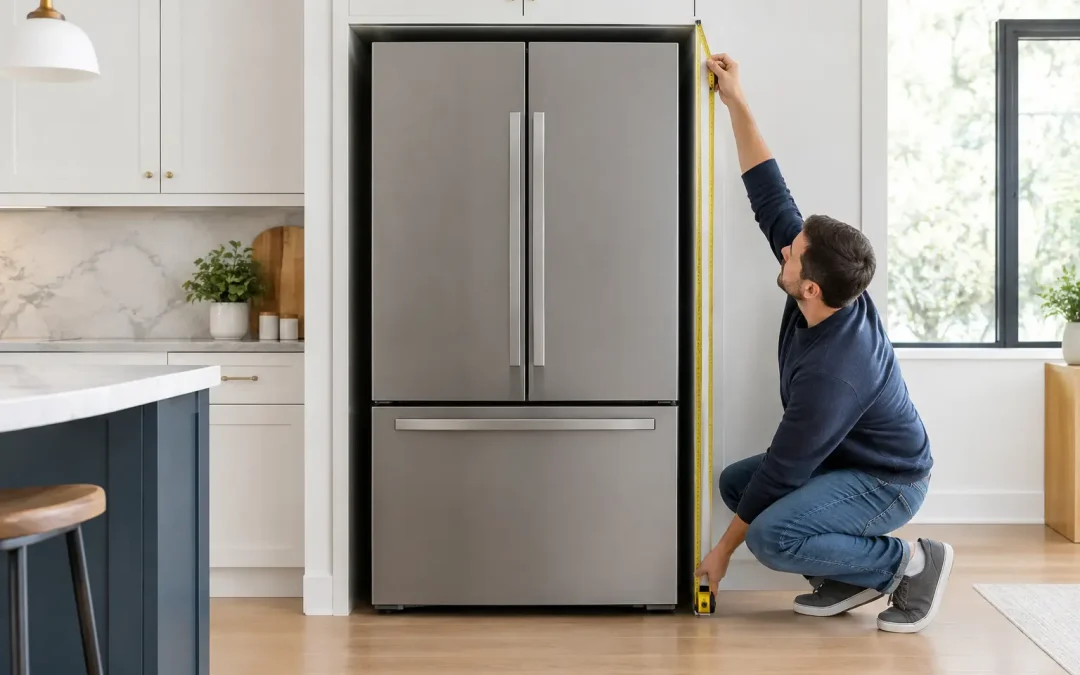
Measure the opening at the top, middle, and bottom. Check both side walls for square, confirm the rear wall does not intrude into the appliance depth, and measure the finished floor rather than the subfloor. If the refrigerator will stand on a platform or finished flooring, that elevation must be established before final measurements are approved.
Cabinet Clearance Is More Than Side-to-Side Space
Most installation instructions specify a precise cutout width and may allow very little extra room at the sides. That space is not simply a convenience gap. It provides room to position and level the unit while preserving the alignment needed for the custom panels and adjacent cabinetry.
Avoid filling extra space with shims, trim, or panel material unless the manufacturer’s instructions call for it. Improvised fillers can interfere with securing brackets, door swing, ventilation, or access to components. If an opening is oversized, a qualified installer and cabinet professional should determine the correct finished solution before the unit is brought in.
Depth deserves the same attention. Integrated models are commonly designed to work with specified cabinetry and panel thicknesses, but the finished front plane varies by model. A refrigerator installed too far back may bind against handles or prevent doors from opening fully. Installed too far forward, it can look misaligned and may compromise adjacent drawer or aisle clearance.
Plan for the door, panel, and handle – together
Door swing is one of the most frequently overlooked parts of an integrated refrigerator cabinet clearance guide. The appliance door may technically open, yet the decorative panel or handle can strike a wall, return panel, countertop edge, island, or neighboring appliance.
Review the manufacturer’s door-swing drawing rather than estimating from the hinge location. Look for the minimum clearance required for a 90-degree opening and, if desired, a fuller opening that allows crispers, shelves, and bins to be removed. Some layouts require a filler panel or a reduced-depth side panel near a wall. Others require a different hinge selection or door stop.
Panel thickness and weight also matter. Custom panels must stay within the appliance manufacturer’s published dimensions and weight limits. A panel that is too thick can alter hinge geometry. A panel that is too heavy can affect door alignment and long-term hinge performance. Decorative hardware must be selected with the panel construction in mind, particularly on tall refrigerator and freezer columns.
Protect the Required Airflow Path
Premium built-in refrigeration must reject heat. While ventilation design differs by model, air movement cannot be treated as an optional detail hidden behind trim. Blocking a grille, reducing a specified opening, or using dense material where airflow is required can make the refrigeration system work harder than intended.
Some integrated units ventilate through a top grille, while others use different front-access arrangements. Follow the specific product documentation for grille opening size, location, and restrictions. Do not assume that a visually similar installation has the same airflow design.
Cabinetmakers should also ensure that decorative panels, valances, crown details, and lighting housings do not cover the intake or discharge area. An attractive finished kitchen should not force the appliance to recirculate warm air. When performance issues appear after a remodel, inadequate ventilation is one of the first installation details worth checking.
Leave a Thoughtful Path for Utilities and Service
Electrical, water, drain, and service access need to be planned before the refrigerator is installed. The manufacturer may specify the outlet location to keep it accessible without interfering with the rear of the unit. A receptacle placed directly behind the appliance can consume critical depth, pinch the cord, or make removal more difficult.
For units with an ice maker or water connection, the shutoff valve should be accessible and located where it will not be crushed by the refrigerator. Water lines should be routed to avoid kinking during installation or future pullout. Undercounter ice machines and some specialty products may also require a drain configuration that must be coordinated with plumbing early in the project.
Service access is not a compromise in a luxury kitchen. It is how the investment remains maintainable. A refrigerator may eventually need leveling adjustment, a water filter change, condenser cleaning where applicable, diagnosis, or component replacement. The cabinet plan should allow a qualified technician to remove the unit without dismantling finished millwork, damaging flooring, or disconnecting unrelated appliances.
A Better Installation Sequence
The cleanest integrated installations are planned in sequence, not corrected at the end. First, confirm the appliance model and current installation documentation. Next, establish finished floor height, cabinet opening dimensions, utility locations, ventilation details, and panel specifications. Then verify the completed opening again before delivery.
At delivery, protect floors and finished cabinetry and inspect the path into the home. Premium units are heavy and often move through tight entries, turns, and elevators. Once positioned, the refrigerator must be leveled, secured as specified, connected, tested, and fitted with panels that align consistently with the surrounding kitchen.
This is also the point to check practical details that are easy to miss on drawings: Does each door open without contact? Can interior drawers and shelves be removed? Does the grille remain unobstructed? Are panel gaps even? Is the water shutoff accessible? A final operational check protects both the appliance and the cabinetry investment.
When Existing Cabinetry Does Not Match the Specification
In a renovation or replacement project, the new refrigerator may not fit an older opening exactly. The right answer depends on the direction and amount of the mismatch. A small gap may be resolved through a manufacturer-approved filler or revised panel plan. A shallow opening, restricted door swing, blocked ventilation route, or incorrect utility location can require cabinet modification.
Do not force a premium refrigerator into an opening that is almost correct. Forced installations can create recurring performance and service problems long after the renovation is complete. For Sub-Zero and other sophisticated built-in systems, factory-trained guidance is especially valuable before millwork is altered. Fridge Fix helps homeowners and trade professionals evaluate installation details with the care these systems require.
A well-planned cabinet opening does more than make an integrated refrigerator disappear into the kitchen. It gives the appliance room to cool properly, doors room to operate, and future technicians room to protect the system and the home.